Attempting Repair of the HP1320 Laser Jet
I am back at it today looking at an old laser printer that had failed in the local swim clubs office during a meet a few years back. I was hoping to find something small to repair but in the end it was a major component that costs more then buying a replacement printer. I have photos and video’s showing the process of determining what was wrong. The password is ‘amac‘. How hard could it be to take one of these things apart. Well it was crazy and I can see that they don’t want you to fix this unit.
I remember that during a meet there had been a paper jam. I also remember that after they cleared the paper jam and attempted to print, one side (I think it was the right and my wife thinks it was the left) had no toner much like what happens when your toner cartridge is running low. A new replacement toner was inserted but same failed print results. I had lost track of that printer but saw it sitting in the shelf recently and thought I would take a look to see if it could be repaired.
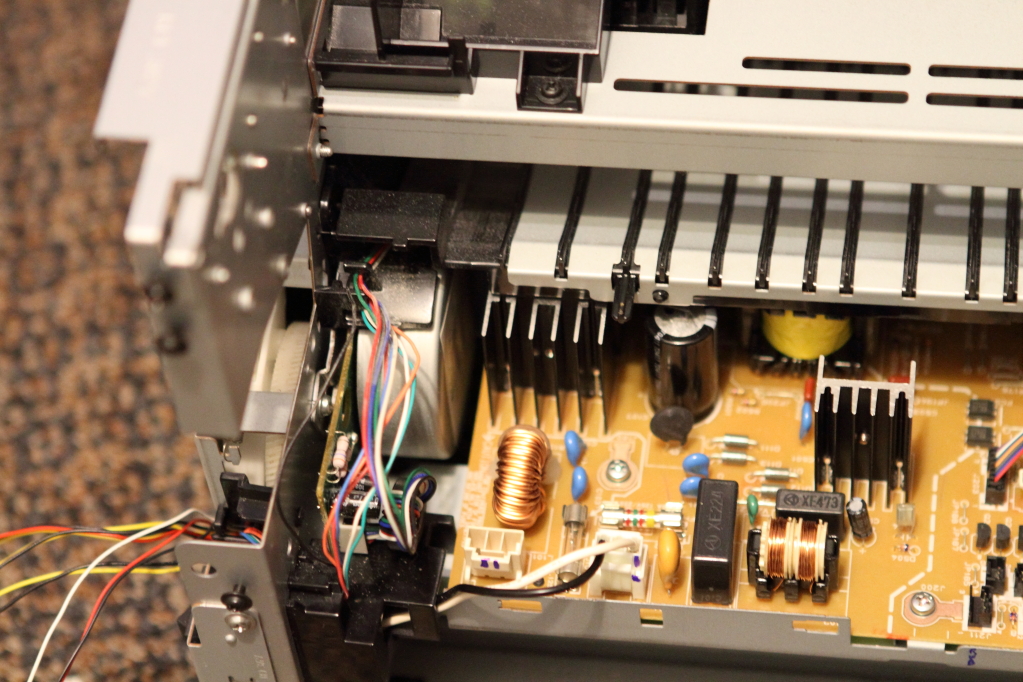
Technical Details. I was fortunate to find a youtube video which I have placed with my photo’s showing how to dissemble the unit. As I removed screws and parts, I put the screws back and marked them on the chassis and parts to ease reassembly. Here is what happened:
There was a tear in the fuser which is why it stopped printing correctly. New fusers look to be around $130 + s/h. I don’t have a lot of history on that printer and how repair if any was attempted but I see two independent tears in the fuser. A small one that appears over what looks to be the right corner and a huge one in the middle. From how this is made, it is obvious why it is a really bad idea to use any sharp object to remove a paper jam. The fuser material itself feels like Christmas paper and is about as delicate. There were two spring releases that would have removed the pressure of the roller against the fuser and probably would prevent any injury to the fuser roller. Not saying that is how it tore but it sure wouldn’t take much if the spring releases were not disengaged. In fact, I could see another paper jam causing a tear given how delicate the material is. Taking this apart has given me a new appreciation for making sure there is no pressure on the rollers before any attempt is made to free up a paper jam
Update:
I decided to look again and found a few quality links. First there is the hp parts store. This is a nice resource because it gives you the part number and diagrams. Just enter q5927a which is what HP calls the LaserJet 1320 and you have a great starting point. From there, I was able to determine that the fuser assembly part number was RM1-1289-080CN. When you google that you will find numerous suppliers including hp that will sell you this part from $101-$150. The problem is that I don’t really want the entire assembly just the fuser sleeve. Next, I searched offshore with tradekey and found various original sources of fuser sleeves but not necessarily the one I need. Finally, I went to alibaba.com and found some suppliers. This supplier looks like it might fit the bill at a cost of $1-$2 for the sleeve. I am contacting the supplier to see if they will sell me a low quantity for evaluation purposes. I had seen a Russian video of how to replace the sleeve but it is not clear to me what the paste they were applying to the fuser. HP certainly is not helpful as they want the entire assembly to be replaced. Can this sleeve be replaced in a reliable method is the real question.
Update2:
Definitely going to repair this now. I am still waiting on some direct inquiries from China but it might be safer to just order the parts from ebay. I have found both US and Canadian options that include the complete fuser assembly rebuild kit. That rebuild kit would include the following.
- One fuser sleeve;
- One pressure roller;
- One set of gears
- Grease for the film;
- and simple instruction.
The Canadian location also has a store that I might need to remember for the future.. Both these solutions cost approx $40 including shipping. It would be a lot more if I was to buy the parts individually such as the fuser roller, fuser sleve, and transfer roller assembly RMI-0343. If you go the route of buying a fuser sleeve for $2 then you will need some fuser lube. That is what is shown on the russian video during their rebuild I am thinking. Initially, I was thinking it might have been some sort of glue??? The fuser operates at temperatures of about 200C so I was concerned what that paste was going to be and if it would expand or not.
Update3:
My kit arrived and I was able to replace the sleeve and pressure roller. I was able to get it all reassembled and have documented it with photo’s here. Now I have to address a paper feed issue that I noticed on the initial power on that is documented in one of the video’s. We have made progress because now the error codes have cleared on power up. I am taking a break because I need the floor space but eventually I will get back to it. BTW, I found the service manual. Wish I had it previously but now at least I can understand how this thing works which is what I am going to need to fix the paper feed issue.
A Note:
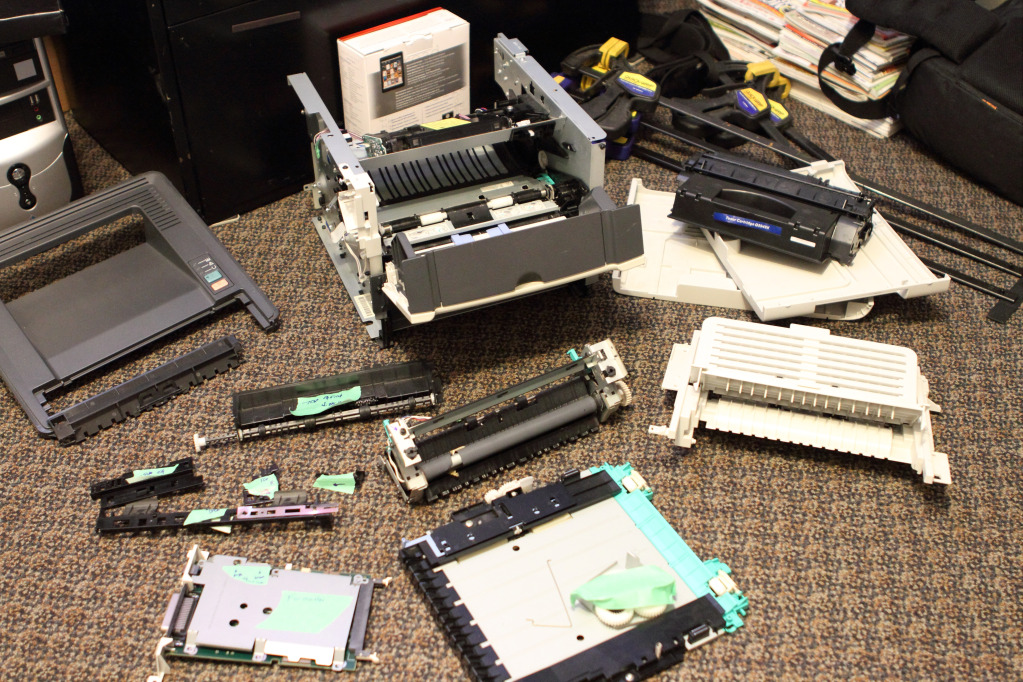
So could they have made it any more difficult? Check out all the parts that resulted from trying to get to the fuser.


